

You’ve got a box of parts on the table, and the temptation is to bolt on the shiny bits first. Most first-build problems, though, come from doing the right steps in the wrong order. So what goes first, and how do you know it’s safe before the battery goes in? This guide gives you a seven-stage assembly order, a quick check at the end of each stage, and a calm, props-off first power-up.
Key takeaways
- Build in stages, and fit the propellers last.
- Check each stage before moving on, while faults are still easy to fix.
- Do your first power-up with the propellers off.
Before you start
Clear a flat table with good light and a tray for screws, because small screws roll. Keep a small screwdriver set, your soldering iron and a multimeter within reach. A multimeter is a handheld tester that measures voltage and tells you whether two points are connected. This guide assumes you already have your parts. Choosing them is a separate topic. One rule holds for the whole build: keep the battery disconnected. A LiPo battery (lithium polymer, the usual drone battery) stores a lot of energy, so read up on how to store and charge LiPo batteries safely before you handle one.
In what order should you assemble a drone?
Think of it like building a house: foundation, walls, wiring, then the furniture. Each stage below ends with a check. If a check fails, fix it before moving on, because a fault is much harder to reach once more parts sit on top of it.

Stage 1: Lay out and inspect the parts
Spread everything out and match it against your parts list. Look for cracked arms, bent motor shafts, damaged wires and missing screws.
Check: everything is present and undamaged.
Stage 2: Build the frame
The frame is your foundation, and every later stage depends on it being solid. Assemble it following the frame maker’s instructions and tighten every fastener firmly, without overtightening.
Check: no loose fasteners, and no arm flexes when you press it gently.
Stage 3: Mount the motors
Fix each motor to its arm before any wiring begins. Use screws of the right length: a screw that is too long can reach the motor’s windings, the fine copper coils inside, and damage them.
Check: each motor is secure, spins freely by hand, and no screw touches the windings.
Stage 4: Connect the ESCs and power wiring
ESCs (electronic speed controllers) take power from the battery and drive each motor. The power path goes in before the flight controller because it involves the most soldering and heat. You also want to test it while it is still easy to reach. Make each solder joint shiny and smooth, not dull or lumpy. Check polarity carefully: positive to positive, negative to negative. Red is usually positive, but always confirm against the markings on your boards. Then set your multimeter to continuity mode and touch the probes to the positive and negative battery pads. If it beeps, there is a short circuit, a direct path that would dump the battery’s energy at once. Find and fix it before you go any further.
Check: clean solder joints, correct polarity, no short circuit.
Stage 5: Mount the flight controller
The flight controller is the drone’s brain: it reads its sensors and decides how fast each motor should spin. Most boards carry an arrow showing which way is forward. Line that arrow up with the front of your frame, and confirm it in your board’s own documentation.
Check: the orientation matches the frame’s forward direction.
Stage 6: Connect the receiver
The receiver picks up signals from your radio transmitter. Wire it exactly as its own documentation shows, because pin layouts differ between models. Route the antenna and wires away from the motors and propeller paths.
Check: the connections are secure and every wire is clear of the motors. The hardware is now built, but it has never had power. That comes next.
How do you do a props-off first power-up?
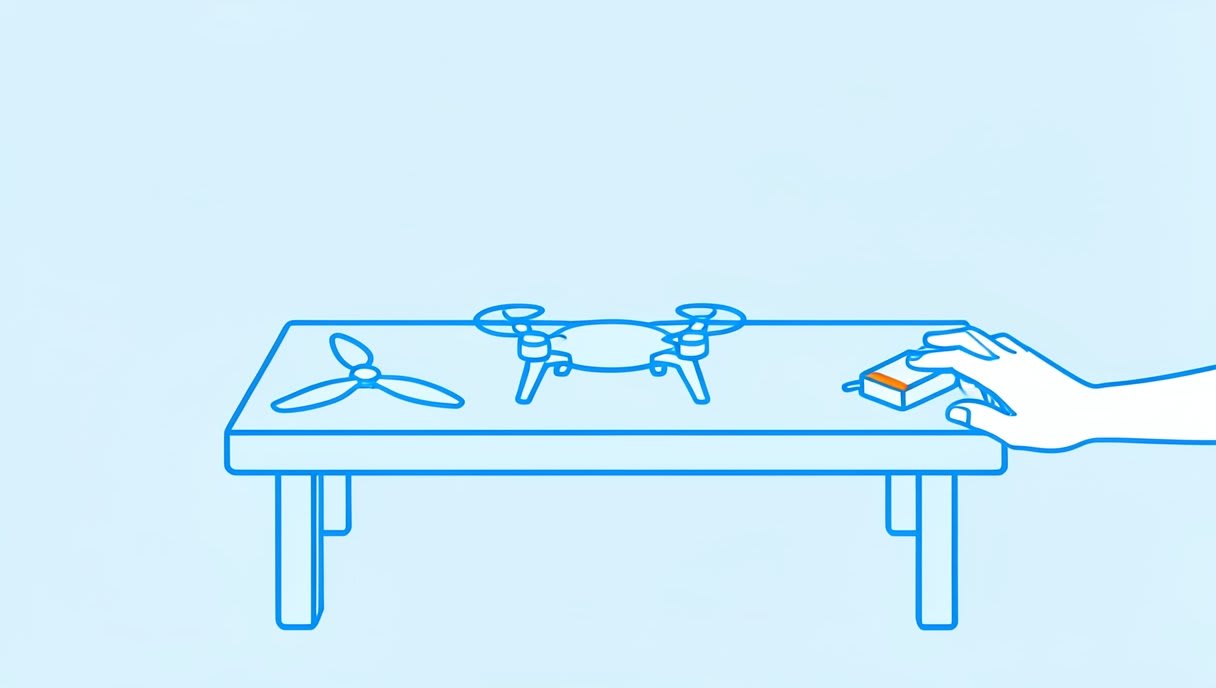
This is where the build comes to life, so take it slowly. Keep the propellers off, so nothing can spin up and cut you. Work through this routine:
- Confirm the propellers are off.
- Repeat the short-circuit check on the battery pads.
- Confirm the battery polarity one more time.
- Secure the drone on the table so it cannot slide or tip.
- Connect the battery, keeping your hands clear of the motors.
- Watch, listen and smell.
If anything looks, smells or sounds wrong, disconnect the battery straight away. That includes smoke, a burning smell, sparks, a component getting hot, or a motor moving on its own. Then go back to Stage 4 and recheck before you try again.
Set up the firmware with the official docs
Firmware is the software that runs on the flight controller. Setting it up includes calibration and checking motor direction, and the details depend on your board and firmware. Follow the official documentation rather than settings you find in forum posts. If you use ArduPilot, the ArduPilot Copter documentation, written by the ArduPilot project and its community, is your free next step. For the setup itself you will need a ground station, the software on your computer that talks to the flight controller. Mission Planner is a Windows ground station for ArduPilot. QGroundControl is a cross-platform ground station for PX4, another flight-controller firmware, and ArduPilot.
Stage 7: Fit the propellers last
Fit the propellers only after the bench check and firmware setup are done. On a quadcopter, the motors spin in diagonal pairs, and each propeller is shaped for one spin direction. A propeller on the wrong motor pushes air the wrong way, and the drone will not lift off cleanly.
Check: each propeller matches its motor’s direction, as your firmware documentation describes, and is fastened securely.
Common beginner mistakes
- Fitting the propellers too early, then powering up for “just a quick test”.
- Skipping the short-circuit check because the soldering looked fine.
- Reversing battery polarity at the connector.
- Mounting the flight controller backwards or rotated.
- Letting loose wires drift into a motor’s path.
- Using motor screws that are too long.
The build order above is designed to catch each of these. For more help, see this essential setup guide for your first drone.
Practise before your first flight
Your drone is built and checked. Are your thumbs ready, though? Flying is a separate skill from building, and a crash on day one can undo hours of careful work. One free option is the Aasma BYOD flight simulator. It runs in your browser with keyboard controls and needs no install. You can read more about our free online drone simulator, or practise any other way you prefer.
FAQ
What order should you assemble a quadcopter in?
Lay out and inspect the parts, build the frame, mount the motors, then connect the ESCs and power wiring. After that, mount the flight controller, connect the receiver, and fit the propellers last, after a props-off bench check and firmware setup.
Why should drone propellers go on last?
Spinning propellers can cause injury. Keeping them off during power-up, setup and motor checks means nothing can lift or cut you if a motor starts unexpectedly.
What should you do after assembling a DIY drone?
Do a props-off first power-up, then set up the firmware using its official documentation. Practising your flying, in a simulator or another way, is a good idea before the first real flight.
Your next step
Build it, check it, then practise flying it. Try the six missions in the free simulator at sim.aasmaaerospace.in, right in your browser. If you’d like a kit to start from, Aasma also makes drone learning kits for students. Once the propellers are on, how can you be sure every motor is really spinning the right way?


