

You raise an open palm and the drone stops in mid-air. You close your fist and it sinks gently to the ground. In videos it looks like the drone can read your mind. It can’t. A gesture controlled drone project is five ordinary steps in a chain, and once you see the chain you can draw it on a napkin. This post gives you that diagram, a starter gesture table and the safety rules that make it work.
Key takeaways
- Gesture control is five steps in a chain: camera, hand points, gesture, command and flight controller.
- A recognised gesture becomes the same kind of command a joystick or key press sends. The flight controller does the actual flying.
- Good designs use a few clearly different gestures, smooth over several frames, and hover or land when no hand is seen.
What does gesture control mean for a drone?
Here is the common misconception: the drone itself does not “see” your hand. A camera and a computer do the seeing and thinking. They work out which gesture you are making, then send an ordinary flight command to the drone. That command is the same kind of message a joystick sends. Think of the computer as a translator standing next to you. You speak in hand shapes, and it repeats your request to the drone in the language the drone already understands. So what happens between your palm and that message?
The five stages from hand to flight
A gesture-controlled drone runs this pipeline, in this order:
camera → hand points → gesture → command → flight controller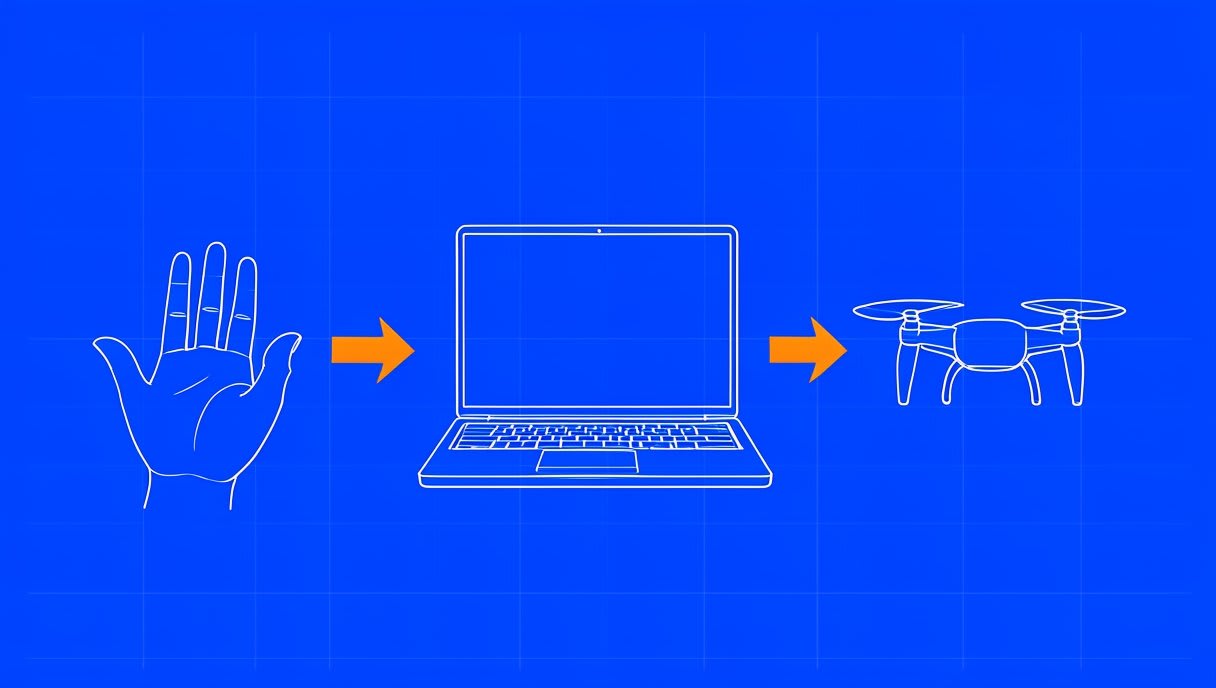
1. The camera captures frames
Video is just a fast stream of still images called frames. The computer checks each frame for a hand. Lighting and background matter: a dim room or a busy, hand-coloured background makes the next stage much harder.
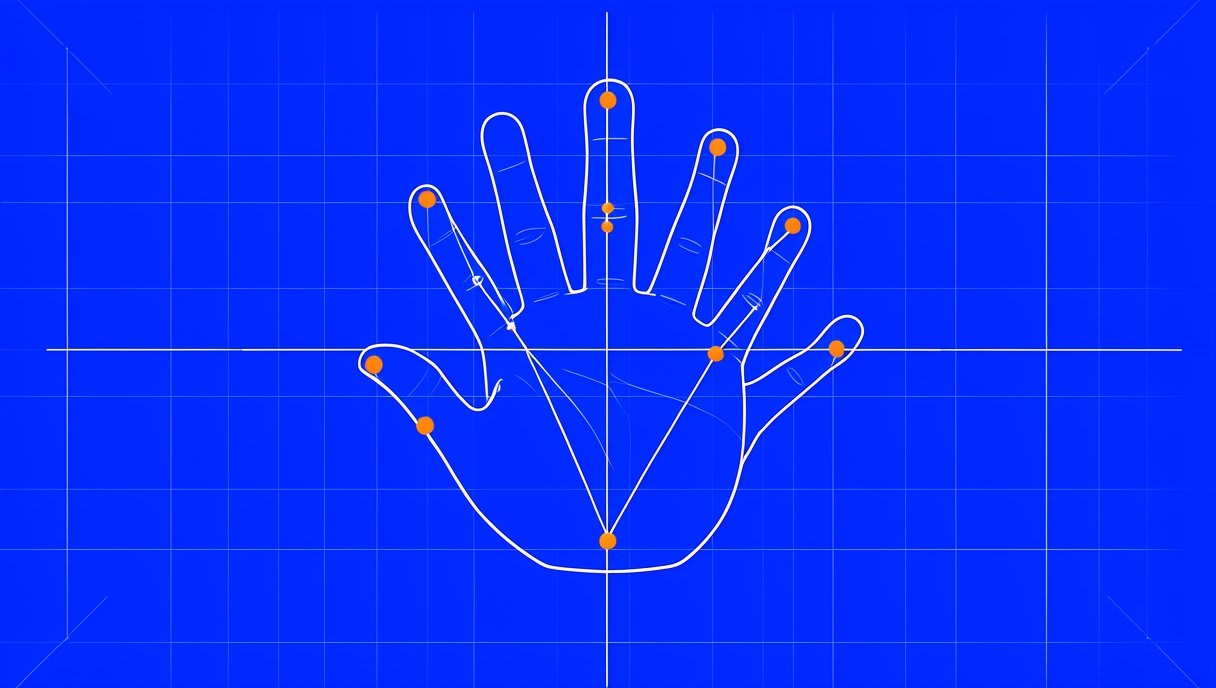
2. A model finds points on the hand
This is hand-landmark detection. A landmark is simply a key point on your hand, such as a fingertip, a knuckle or your wrist. A trained computer-vision model looks at the frame and marks where each of these points sits. The output is not a picture any more. It is a list of points with positions, like dots on a connect-the-dots drawing of your hand.
3. The points become a gesture
Now you turn those dots into a name. There are two common routes. The first is simple rules you write yourself, for example:
for each finger:
    if fingertip is above its knuckle: finger is open
if all fingers are open: gesture = "open palm"
if no fingers are open: gesture = "fist"
The second route is a small classifier, a model you train on many labelled examples of each gesture. Either way, the result is a label such as “open palm” or “fist”. You write both routes in code, so picking a language for drone programming comes before this step.
4. The gesture becomes a command
A simple lookup table maps each label to a flight command: “open palm” means hover, “fist” means land. Those commands sit on top of four basic controls. Throttle moves the drone up and down, yaw turns it left or right on the spot, pitch tilts it forwards or backwards, and roll tilts it sideways. Before you map any gestures, get a feel for these four controls. You can fly the free Aasma browser simulator at sim.aasmaaerospace.in with keyboard controls, with nothing to install.
5. The command reaches the flight controller
This is the part that surprises people. A gesture, a key press and a joystick movement all end up as the same kind of message. The flight controller does not care where the request came from. Many autopilots, including ArduPilot and PX4, understand an open messaging protocol called MAVLink. Your computer sends a MAVLink message, and the flight controller still does the hard work of keeping the drone stable in the air.
A starter gesture-to-command table
Here is an example set to learn with. It is not a standard, just a sensible starting point.
| Gesture | Command |
|---|---|
| Open palm | Hover |
| Fist | Land |
| Point left | Yaw left |
| Point right | Yaw right |
| Thumbs up | Take off |
How should you choose your gestures?
Keep the set small. Every extra gesture is another chance for the computer to confuse two shapes. Choose shapes that look clearly different, like a palm and a fist, rather than two similar finger counts. Make “no hand detected” a command in its own right: hold or land. Then smooth over several frames, so a gesture only triggers a command once it stays steady:
read gesture from the latest frame
add it to a list of the last few gestures
if every gesture in the list is the same: send its command
otherwise: keep the current command
Without smoothing, one blurry frame could flick the drone left for a split second. Your controls would feel jittery and unpredictable.
Why do safety stops and failsafes belong in the design?
A drone you control with your hands will face moments when it cannot read your hands. The hand leaves the frame or the lighting changes. A friend waves behind you, a gesture gets misread, or the link between computer and drone drops. Each of those moments needs a safe default, decided before you ever fly. A failsafe is exactly that: what the drone does when something goes wrong. Autopilots also have their own failsafe settings for a lost link, so read your autopilot’s documentation on them.
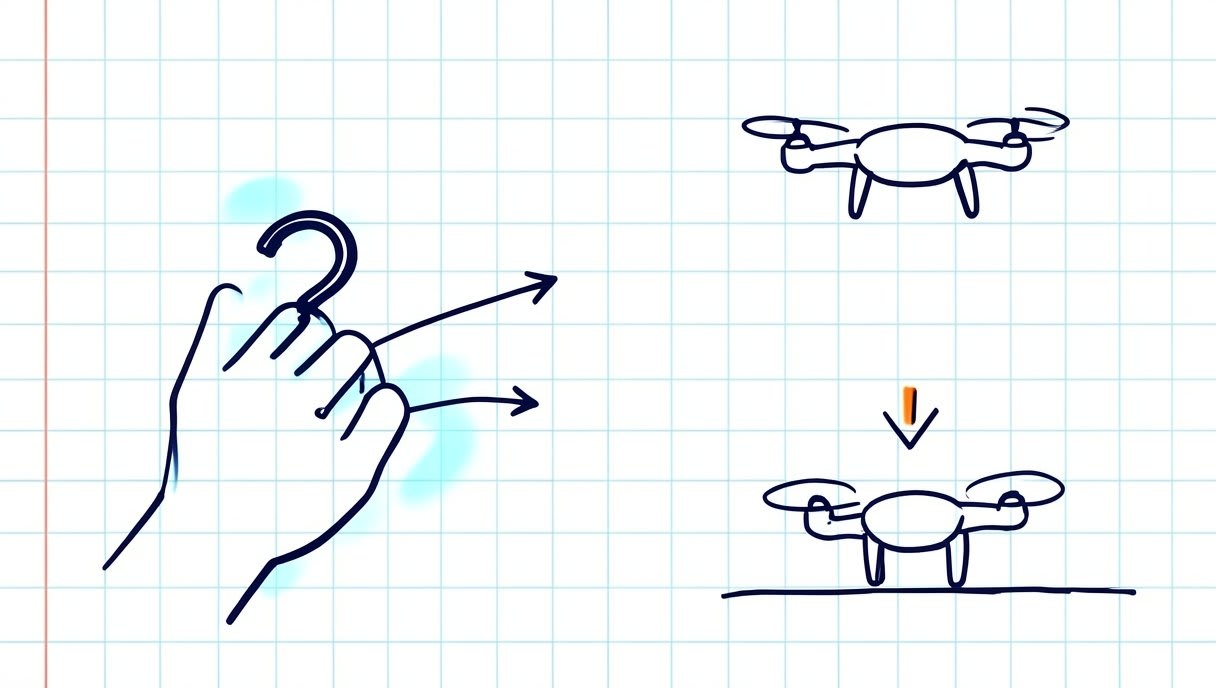
Test in a simulator first, then on real hardware with the propellers removed. What a simulator teaches you explains why this habit pays off. Before any real outdoor flight, check the official government drone rules for where you live.
Where should you go next?
To learn flight modes and how an autopilot accepts commands from another computer, such as the one running your gesture code, read the official ArduPilot Copter docs and the PX4 docs. Having both shows you that the command stage is not tied to one system. For the Python side, pymavlink gives Python access to MAVLink messages, and MAVSDK-Python is a Python API, a set of functions you call from your own code, for PX4 and MAVLink drones. Start with your first Python script for a simulated drone, then follow the free drone programming learning path.
Frequently asked questions
Can you control a drone with hand gestures?
Yes, in general. A camera and a computer recognise the gesture, then send standard flight commands to the drone’s flight controller. It is the five-stage chain above: camera, hand points, gesture, command, flight controller.
What do you need for a gesture controlled drone project?
At concept level, you need three things: a camera, a computer to run hand detection and your gesture rules, and a drone whose flight controller accepts commands, for example over MAVLink.
What happens if the drone loses sight of your hand?
In a well-designed system, “no hand detected” means hold position or land. You decide that rule in advance and test it in a simulator or with the props off. That way a lost hand ends in a calm hover or a calm landing, not a surprise.
Start with the four basic controls
Learn the four basic drone controls first: fly the free Aasma browser simulator at sim.aasmaaerospace.in, no install needed. When you are ready for real hardware, explore Aasma’s drone learning kits. One question is still open. Should your gestures come from hand-written rules or a trained classifier, and which would you trust in the air?


